Spring boot:iTerm2打造阿里云远程连接工具
Contents
iTerm2打造远程工具
获取阿里云ECS服务器实例公网IP
在阿里云控制台的实例列表中,获取ECS服务器实例的公网IP. (如果实例列表为空,请先选择正确的区域)

创建iTerm Profile
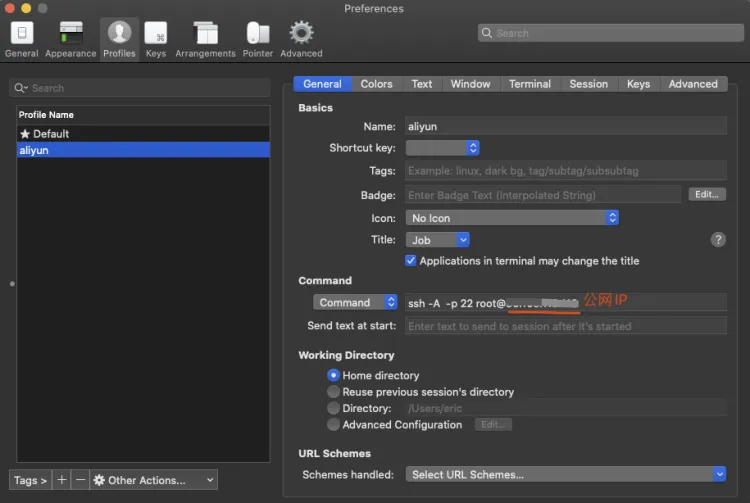
- 新建一个名为aliyun的Profile
- 选择Command(另一个选项是Login Shell), 设置命令行内容为:ssh -A -p 22 root@阿里云服务器公网IP
- 重启iTerm
使用aliyun Profile新建iTerm Window/Tab
选中Profiles菜单,选择aliyun:

iTerm会新建一个Tab
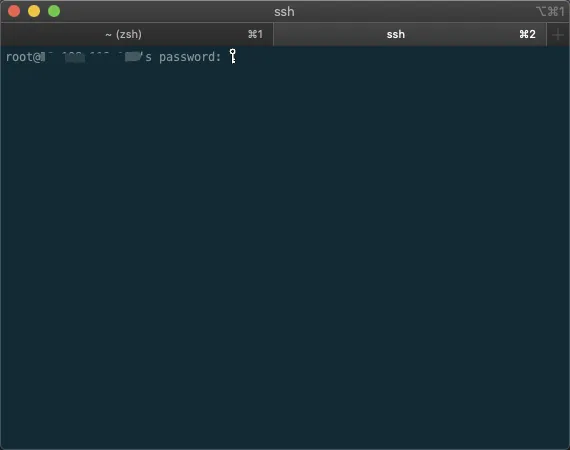
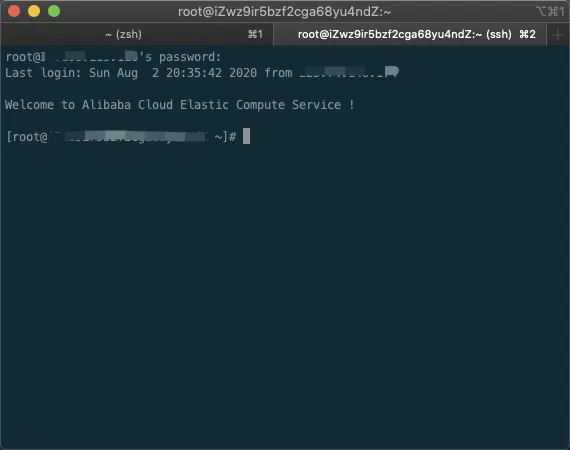
- 输入阿里云服务器登录密码,即可远程连接到ECS服务器实例
安装支持rz和sz命令的lrzsz
1 | brew install lrzsz |
- 在GitHub下载iterm2-zmodem
- 把iterm2-send-zmodem.sh 和iterm2-recv-zmodem.sh两个脚本copy到/usr/local/bin/目录下
- 设置脚本权限:
1
chmod 777 /usr/local/bin/iterm2-*
- 设置Iterm2的Tirgger特性,profiles->default->editProfiles->Advanced中的Tirgger.
添加两条trigger,分别设置 Regular expression,Action,Parameters,Instant如下:- 第一条
Regular expression: rz waiting to receive.**B0100
Action: Run Silent Coprocess
Parameters: /usr/local/bin/iterm2-send-zmodem.sh
Instant: checked - 第二条
Regular expression: **B00000000000000
Action: Run Silent Coprocess
Parameters: /usr/local/bin/iterm2-recv-zmodem.sh
Instant: checked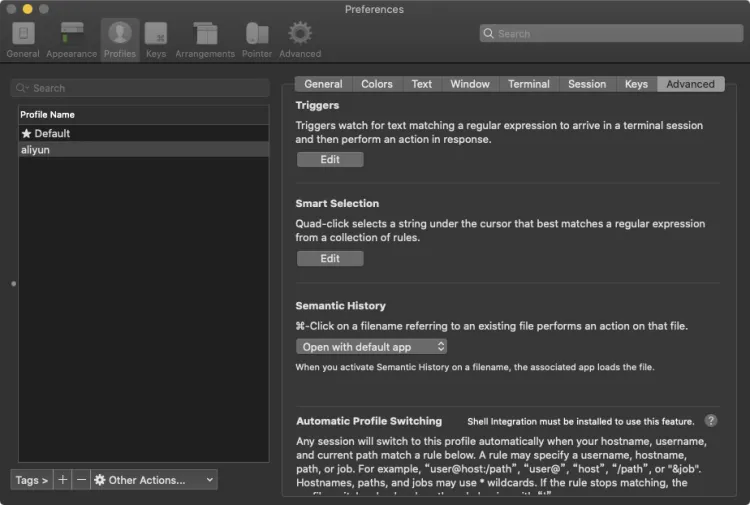
- 第一条
在ECS服务器安装lrzsz
命令行安装lrzsz:
1 | yum install lrzsz |
使用rz命令上传jdk
- Oracle官方下载Linux x86_64版本的jdk压缩包
使用iTerm 2 aliyun Profile新建Tab, 登录ECS服务器并运行rz命令:
rz - 在文件选择器中选中jdk压缩包,确认并等待上传
- 解压:
tar -zxvf jdk-8u221-linux-x64.tar.gz - 配置环境变量:
- 编辑/etc/profile文件:
export JAVA_HOME=/usr/java/jdk1.8.0_221 export CLASSPATH=$JAVA_HOME/lib/ export PATH=$PATH:$JAVA_HOME/bin export PATH JAVA_HOME CLASSPATH - 立即执行/etc/profile文件,使之生效:
source /etc/profile - 运行java命令验证jdk是否安装成功:
java -version
ECS服务器绑定域名
添加A记录
- 选择域名进入解析配置
- 添加一条云解析设置,记录类型为A记录,记录值是ECS服务器公网ipv4 IP地址,TTL选择默认值10分钟,点击添加即可

本地验证
执行ping命令验证域名是否绑定成功
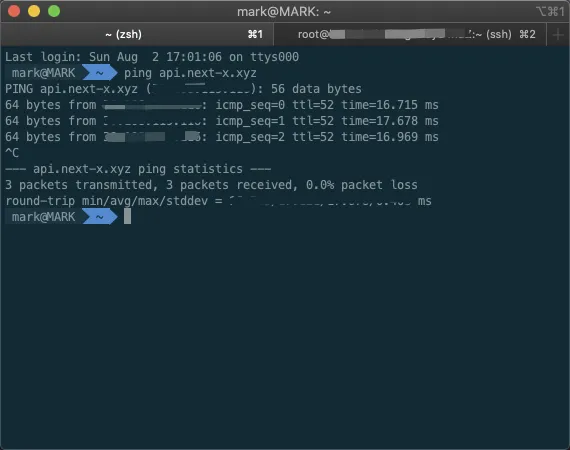
ECS安装MariaDB
安装MariaDB
使用yum命令安装MariaDB
1 | yum install mariadb-server mariadb |
启动MariaDB,并设置开机启动
1 | systemctl start mariadb systemctl enable mariadb |
mysql初始化
1 | [root@server1 ~]# mysql_secure_installation NOTE: RUNNING ALL PARTS OF THIS SCRIPT IS RECOMMENDED FOR ALL MySQL SERVERS IN PRODUCTION USE! PLEASE READ EACH STEP CAREFULLY! In order to log into MySQL to secure it, we'll need the current password for the root user. If you've just installed MySQL, and you haven't set the root password yet, the password will be blank, so you should just press enter here. Enter current password for root (enter for none):<–初次运行直接回车 OK, successfully used password, moving on… Setting the root password ensures that nobody can log into the MySQL root user without the proper authorisation. Set root password? [Y/n] <– 是否设置root用户密码,输入y并回车或直接回车 New password: <– 设置root用户的密码 Re-enter new password: <– 再输入一次你设置的密码 Password updated successfully! Reloading privilege tables.. … Success! By default, a MySQL installation has an anonymous user, allowing anyone to log into MySQL without having to have a user account created for them. This is intended only for testing, and to make the installation go a bit smoother. You should remove them before moving into a production environment. Remove anonymous users? [Y/n] <– 是否删除匿名用户,生产环境建议删除,所以直接回车 … Success! Normally, root should only be allowed to connect from 'localhost'. This ensures that someone cannot guess at the root password from the network. Disallow root login remotely? [Y/n] <–是否禁止root远程登录,根据自己的需求选择Y/n并回车,建议禁止 … Success! By default, MySQL comes with a database named 'test' that anyone can access. This is also intended only for testing, and should be removed before moving into a production environment. Remove test database and access to it? [Y/n] <– 是否删除test数据库,直接回车 - Dropping test database… … Success! - Removing privileges on test database… … Success! Reloading the privilege tables will ensure that all changes made so far will take effect immediately. Reload privilege tables now? [Y/n] <– 是否重新加载权限表,直接回车 … Success! Cleaning up… All done! If you've completed all of the above steps, your MySQL installation should now be secure. Thanks for using MySQL! [root@server1 ~]# |
登录MariaDB
使用root账号登录MariaDB:
1 | mysql -u root -p |
部署
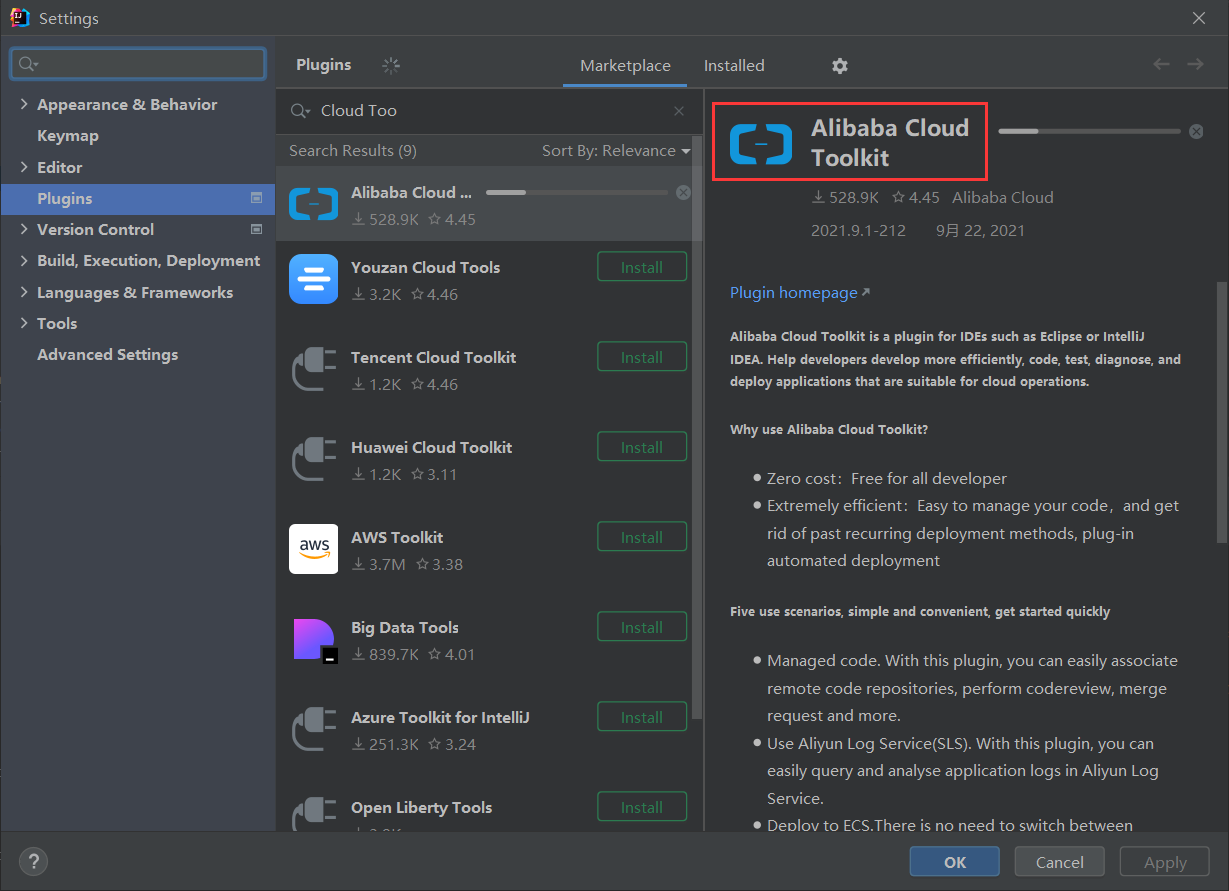
安装Alibaba Cloud Toolkit
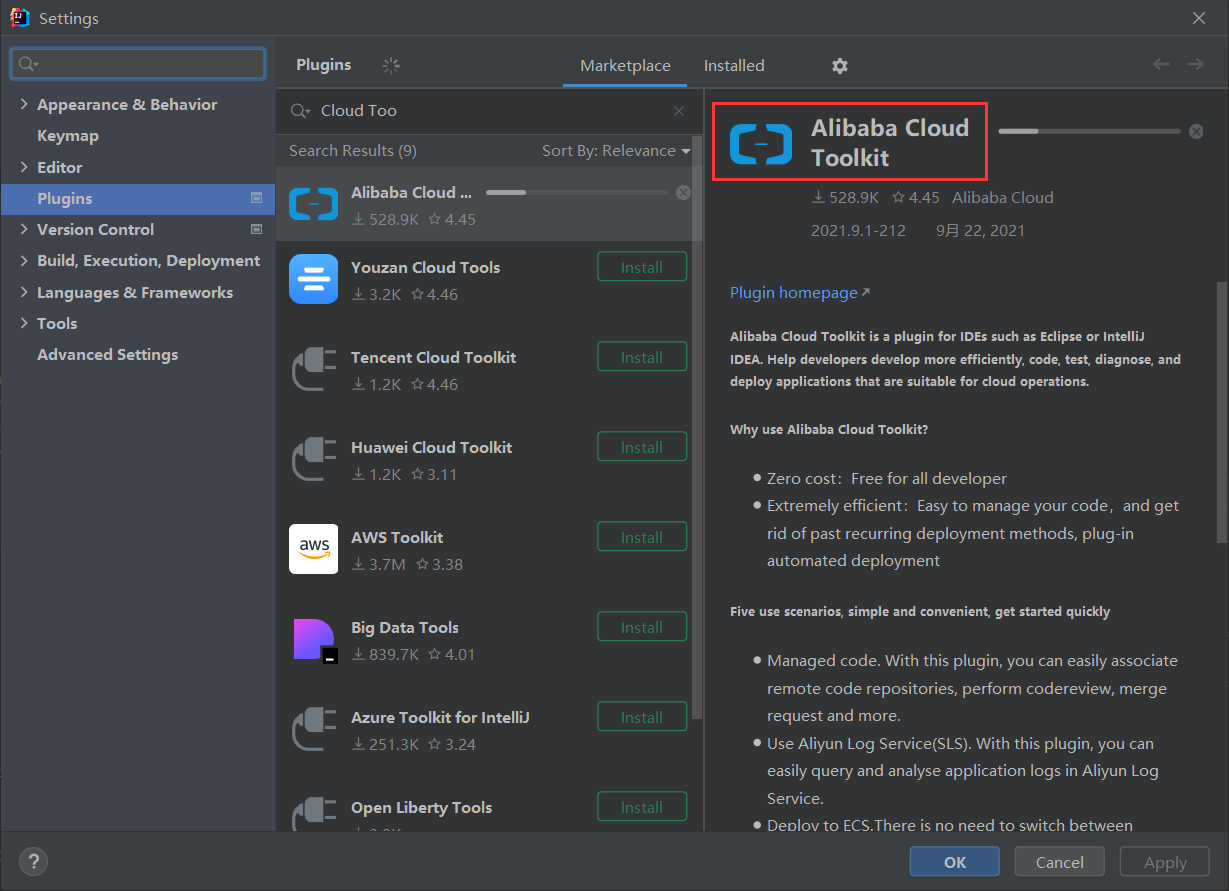
配置Access Key
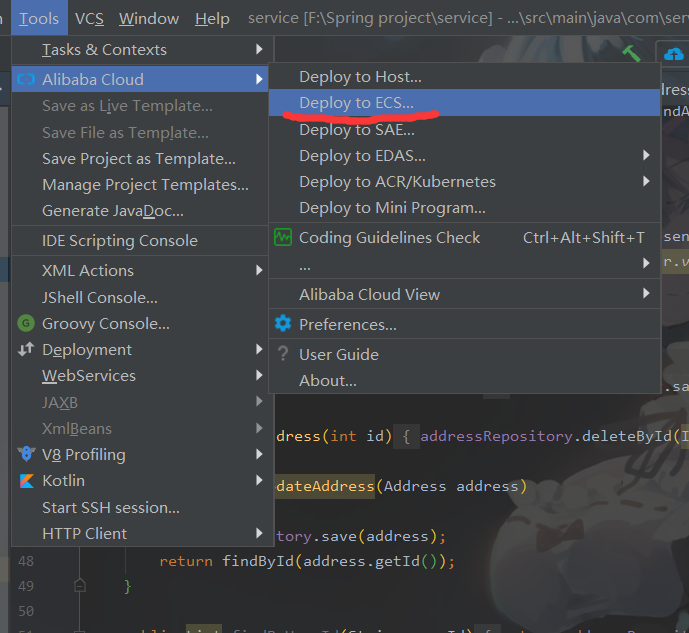
ECS部署
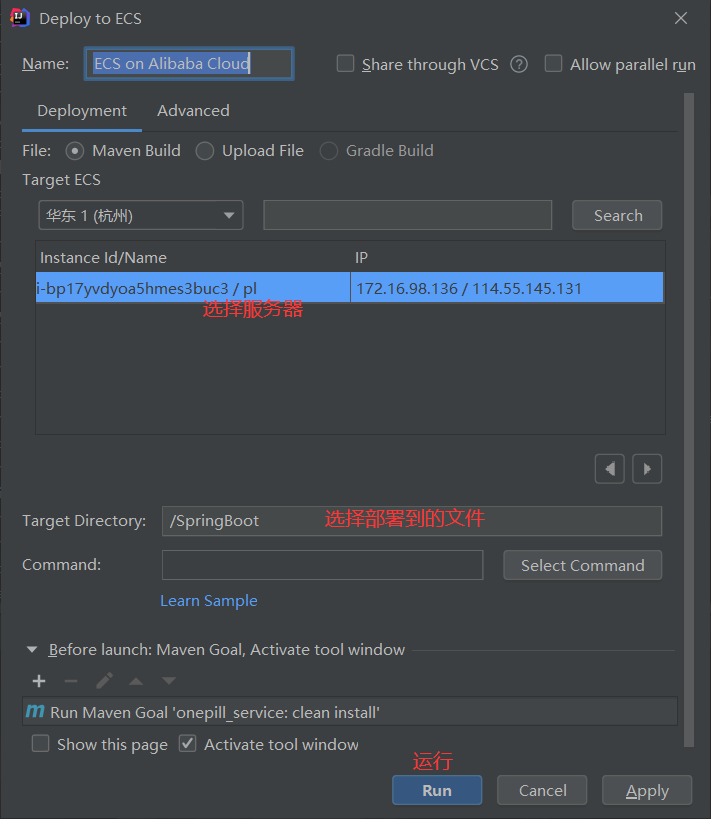
远程启动服务
1 | nohup java -jar service-0.0.1-SNAPSHOT.jar |
相关链接:
[1] LINUX安装MARIADB
[2] 部署SpringBoot到阿里云